Please note: the forum is closed.
No new user registrations are accepted. For more info, please click here.
No new user registrations are accepted. For more info, please click here.
X carriage IGUS conversion
LMU bearings on the X carriage of my A5 are noisy during fast mouvement and acceleration.
Very annoying, especially since I have installed TMC2208 to make my printer as quiet as possible.
So I decided to replace these linear bearings with some IGUS drylin bearing.
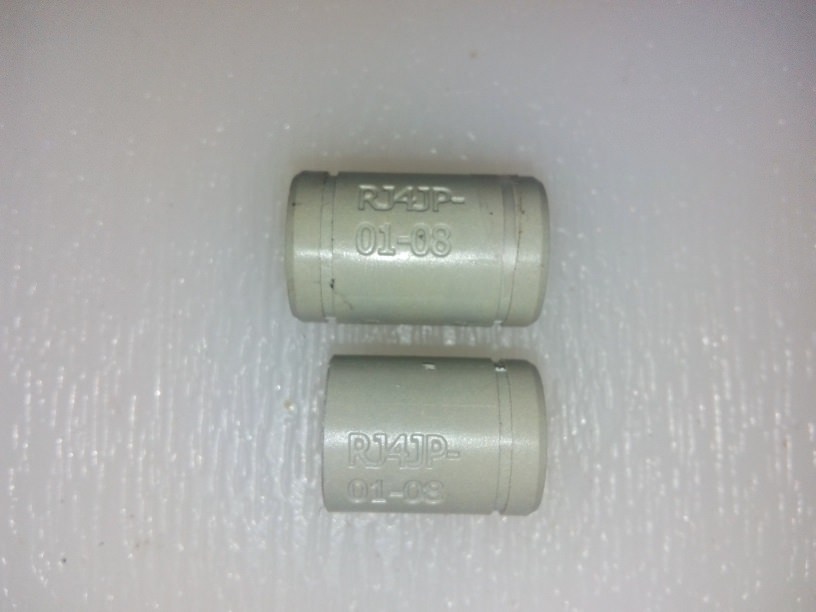
What you need : x3 RJ4JP-01-08 Bearing
Use a hacksaw to to that and use one of the groove at the end of the bearing as a cutting guide.
.

Remove the whole X carriage  (the tricky part)
Don't forget to mark rods extremity position for easy re-assembly
Remove carriage end.
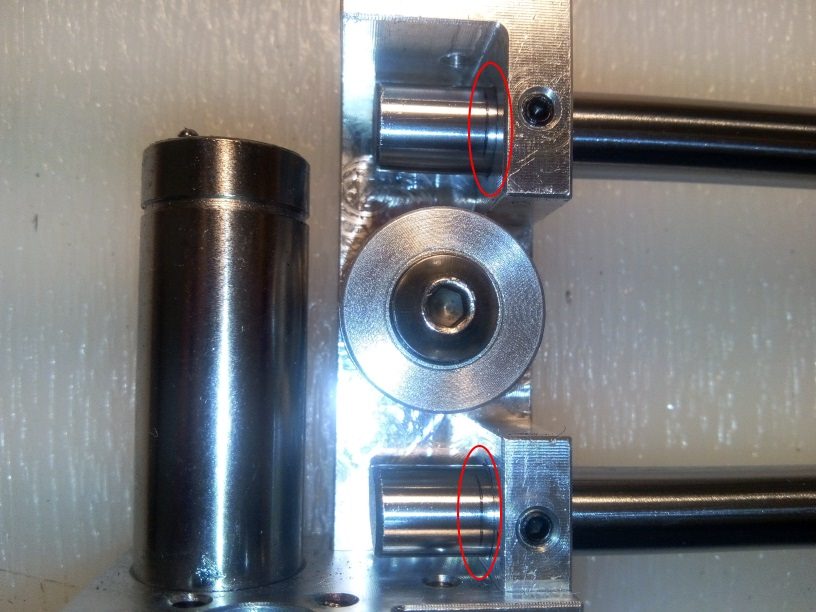
Remove LMU bearings, and install IGUS bearings as shown below
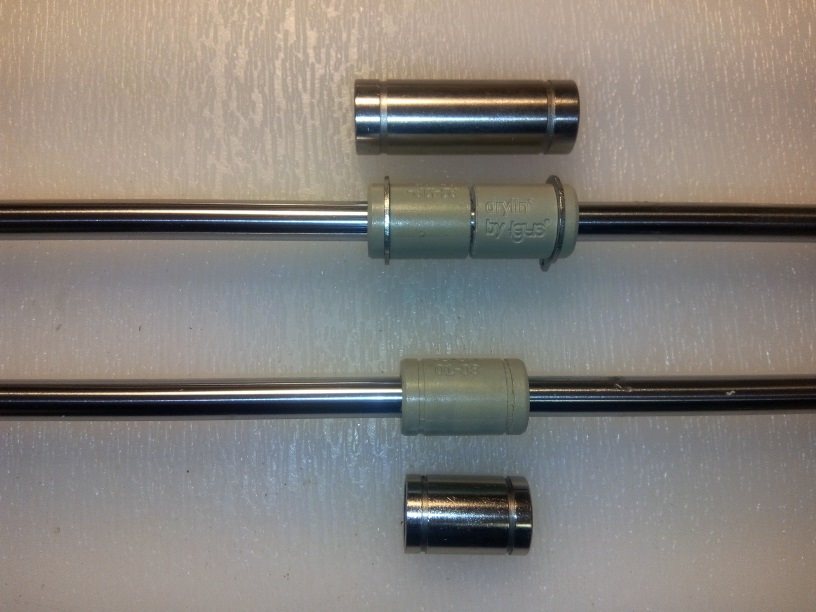
Re-assemble the X carriage and put it back on the printer, install the belt
Use 1 turn (not more) of KAPTON tape to secure IGUS bearing one of each other.
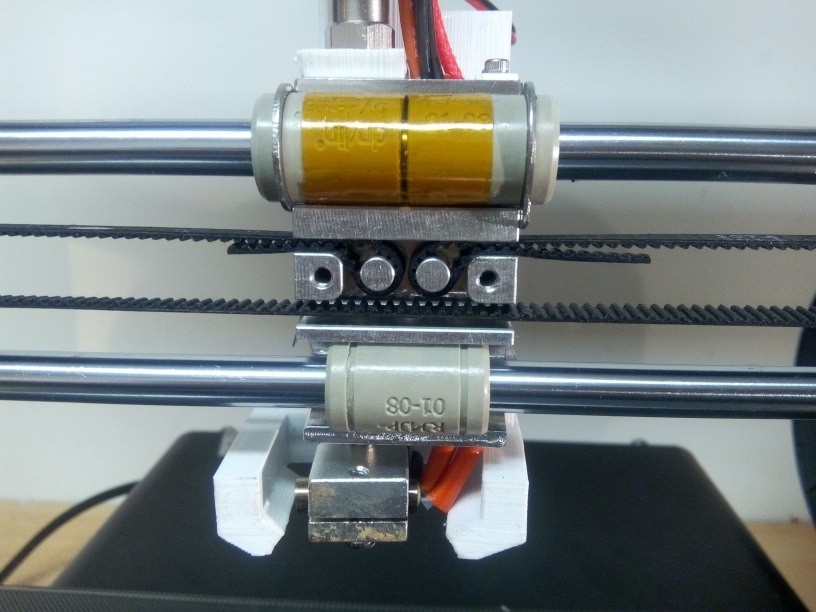
Put back the cover plate, don't over tight it. If not, you can seized bearings on rods
Check if the print head move freely
Lubricate
Done
Comments
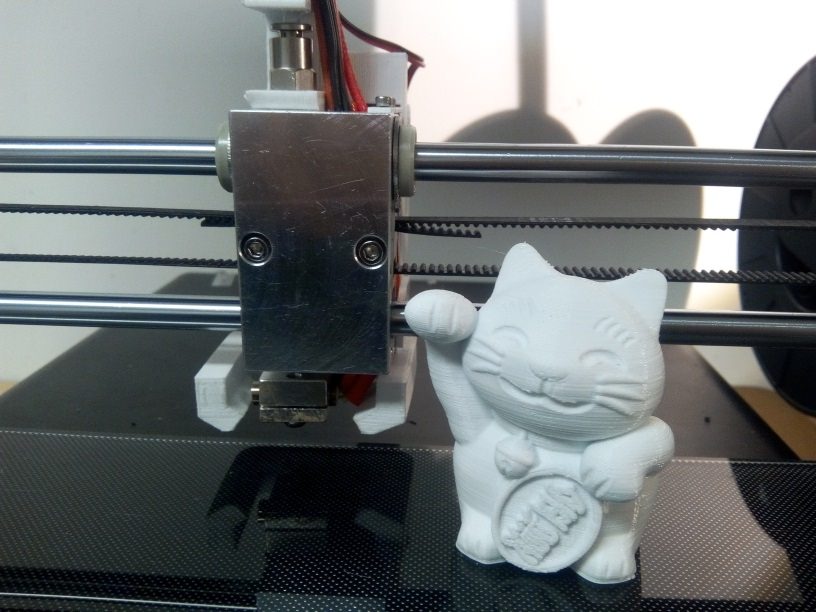
So yes all parts on the second picture are genuine.
Try to share pictures of your X carriage especialy details of both extremity, and we will try to find how to remove X Rod
your printer is newer. They replaced 3D printed parts with CNC machined parts, and then replaced those later on with Injection moulded plastic. There is no compromise to print quality that I have seen, and they lowered the price at this time too.
Howdy, Stranger!
RegisterIt looks like you've been lurking for a while.
If you register, we will remember what you have read and notify you about new comments. You will also be able to participate in discussions.
So if you'd like to get involved, register for an account, it'll only take you a minute!