No new user registrations are accepted. For more info, please click here.
Housing for A5
 crossbreak
Posts: 4Member
crossbreak
Posts: 4Member
Hi, this is my first post. I own the A5 since a few weeks now but did not really print anything after unpacking it, just a few samples since the fans are so annoyingly noisy and the way I put the data in the printer (USB thumb drive) was not so convenient. Finally i managed to get a used IKEA 60x64cm glass door with feasible glass thickness and managed to go to the hardware store to get some custom cut plywood.
I am quite happy with the result. I did not print very high objects though. There might be a problem with the cable on the top of the printer, interfering with the ceiling
Parts:
Ikea Besta vegby door, 64 by 60 cm
2x Plywood 640*600*15mm (floor and roof)
2x Plywood 640*610*15mm (sidewalls)
1x 610*570*15mm (the backwall)
40x wood screw 4x40mm
acrylic piant for 6m², a brush and a 100mm roll
4x adjustable feed, also IKEA, dont know the brand
1x 3meters of self adhesive foam lip seal. I chose the double lip seal but single lip would be sufficient i guess
2x or 4x M8x80 or M6x80 bolts and Tee nuts to hold spare 1kg filament coils, I only installed 2 on the left side ATM
Maybe some bathroom silicone the seal the cables on the back. fresh air could enter the box from the small gaps at the cables in case of a fire, preventing the fire from seizing. I drilled some holes between floor and back wall to guide the Network cable for the Pi (octoprint) and power supply for the printer through the back.
I highly recommend to first paint the plywood once, then sand it and paint again, then bolt everything together. Makes things a lot easier and quicker then sanding and painting it as a last step like I did.
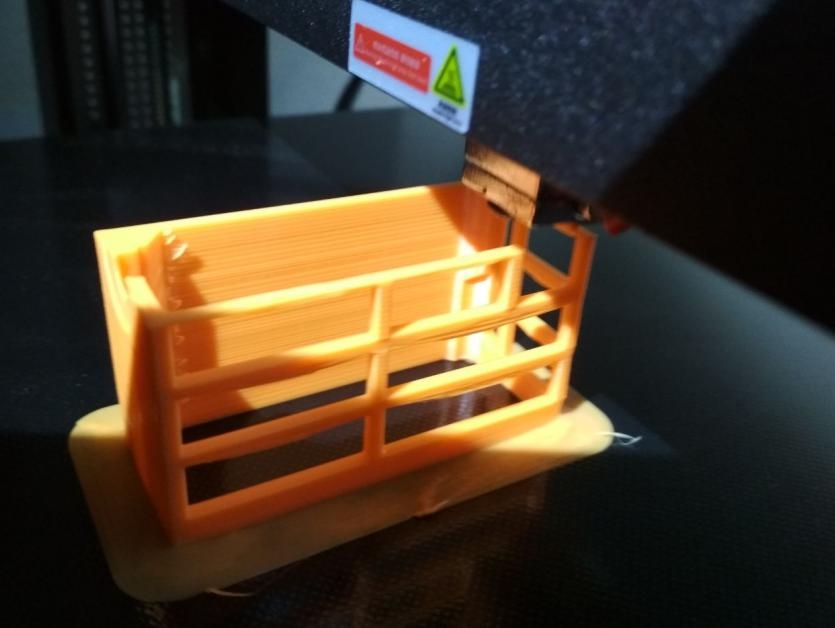
First thing I “really” print now is the raspberry housing. Thanks a lot to all who contributed to this forum/wiki. This project would have never been possible in these few days without you! Octoprint was so quick to setup, it took me barely two hours from unboxing the Pi to the first print.
cost: <100€. I paid ~60€ for the custom cut plywood, paint and screws, around 10€ for the door (used in good condition), around 10€ for the feet


Comments
Planning on moving the A5 out to my shed so i can do long prints without having fumes and noise inside the house, but the enclosure is basically required to print in ABS reliably and even gives better results in PLA. Gives me some ideas on what i can do. Was thinking of going with a basic wooden frame but with plexiglass sides however, need to figure out how i can hinge plexiglass, probably 3d print some kind of hinge to be honest.
For me its just to risky to set the whole printer in a box, I could never leave the room because I would be afraid of burning the house down
I plan my enclose to beginn under the hotbed maybe with a ajustable heater for inside to get up the heat for propper high temp prints. The problem is that the extruder motor also has to be outside. The enclose would be screwed to the printer so that is a part of it and stabilize the upper frame to. So it will be a huge printer in the end with lights in it
The most problem I have is to seal it as much as it get under the hotbed. Maybe its impossible but we will see, those will cost me some time in solidworks
There are some self triggered fire extinguisher I think its a good option for such a enclose. Btw. thats a good option for every printer owner at home.
From my understanding of the requirements/reasons for an enclosure, its more about keeping a stable temperature and eliminating draughts.
You don't want to add a fan as ive seen some people do as youre literally adding a draught, but surely cutting a hole or two with a hole saw in the rear and maybe placing some filter foam in there to stop draughts coming in would do the job.
Yes, you'd get heat leaking out of your hole(s), but you wouldn't be getting any draughts that suddenly mess with your hotend or print bed temperatures and the enclosure would actually stabilise at a certain temperature after the heaters have been running for a while.
As I say, this is on my understanding that its about keeping a stable temperature and not necessarily on specifically increasing the enclosure temps. In some cases like Der_Muck's 3d printer/oven (500c hot end!) this isn't the case I know, but for regular people who just want more reliable prints with stuff like ABS, im sure that's the case.
That sounds very nice and interesting, let us see some pictures of it
I would add a ajustible fan to, than you can print everything. For PLA you dont need a enclose because with it, the print doesnt cool down as quick it has to be. Only for ABS, Nylon, ASA and high temp. filaments the enclose is nearly a must. But they produce some toxic gases. The fan with a active coal filter would clean that propperly.
@cs2000
Its also about to increase the temp. inside. Some new printer can heat up to 100°C inside. Its good to have no airflow in the printer but with a little higher temperatur, you can destress the structure you print with that and even chain the structure stronger together. Results are very very strong layer adhesions.
Howdy, Stranger!
RegisterIt looks like you've been lurking for a while.
If you register, we will remember what you have read and notify you about new comments. You will also be able to participate in discussions.
So if you'd like to get involved, register for an account, it'll only take you a minute!