Please note: the forum is closed.
No new user registrations are accepted. For more info, please click here.
No new user registrations are accepted. For more info, please click here.
Building a Box / Scrap upecyling ;)
 Eye
Posts: 115Member, 🌟 Super Member 🌟
Eye
Posts: 115Member, 🌟 Super Member 🌟
Some ages ago; i decided to get a JG aurora A5...
and as you guys here might recall Thais not one of the more Tiny printers
so I set out and Put together a Cupboard mainly from 20x20 alu extrusion profile rods
little did I know that there are like 6 DIFFERENT types 20x20 extrusion rods,.. and Well THAT was fun
After Somewaht FUN i had
So There i cubbelt together the 80X80X150 Cm Thingy, i used meshed steel rods in the inner cuts of the alu rods as level Ground and used after some experiments Tiles To give the thing some mass..
also i had some NIce storage room")
I printed gliding Click in parts to get some Gliding rails for the doors, and sometimes plates to get The heat to stay in, when used abs...
Sooo Next was that while printing , there Is a sizable amount of Los, ,
and i stored that leftovers, missed prints and such in a box; then i stard to think about what to do with it,..
as reUsing that as New filament seems a Bit expensive i welllll.... started to experiment - and Found after a while That there is That thing in the kitchen that gets the temperature i needed
so first i Basically Killed an old baking Plate; with about 2 years of 3d printing Crap
soon i found that a; Thats abit THINK, also; hard to remove From the plate ( first one was COMPLETELY TOTALED but was about to be trown away anyhow)
So i switched to aluminium one way food containers
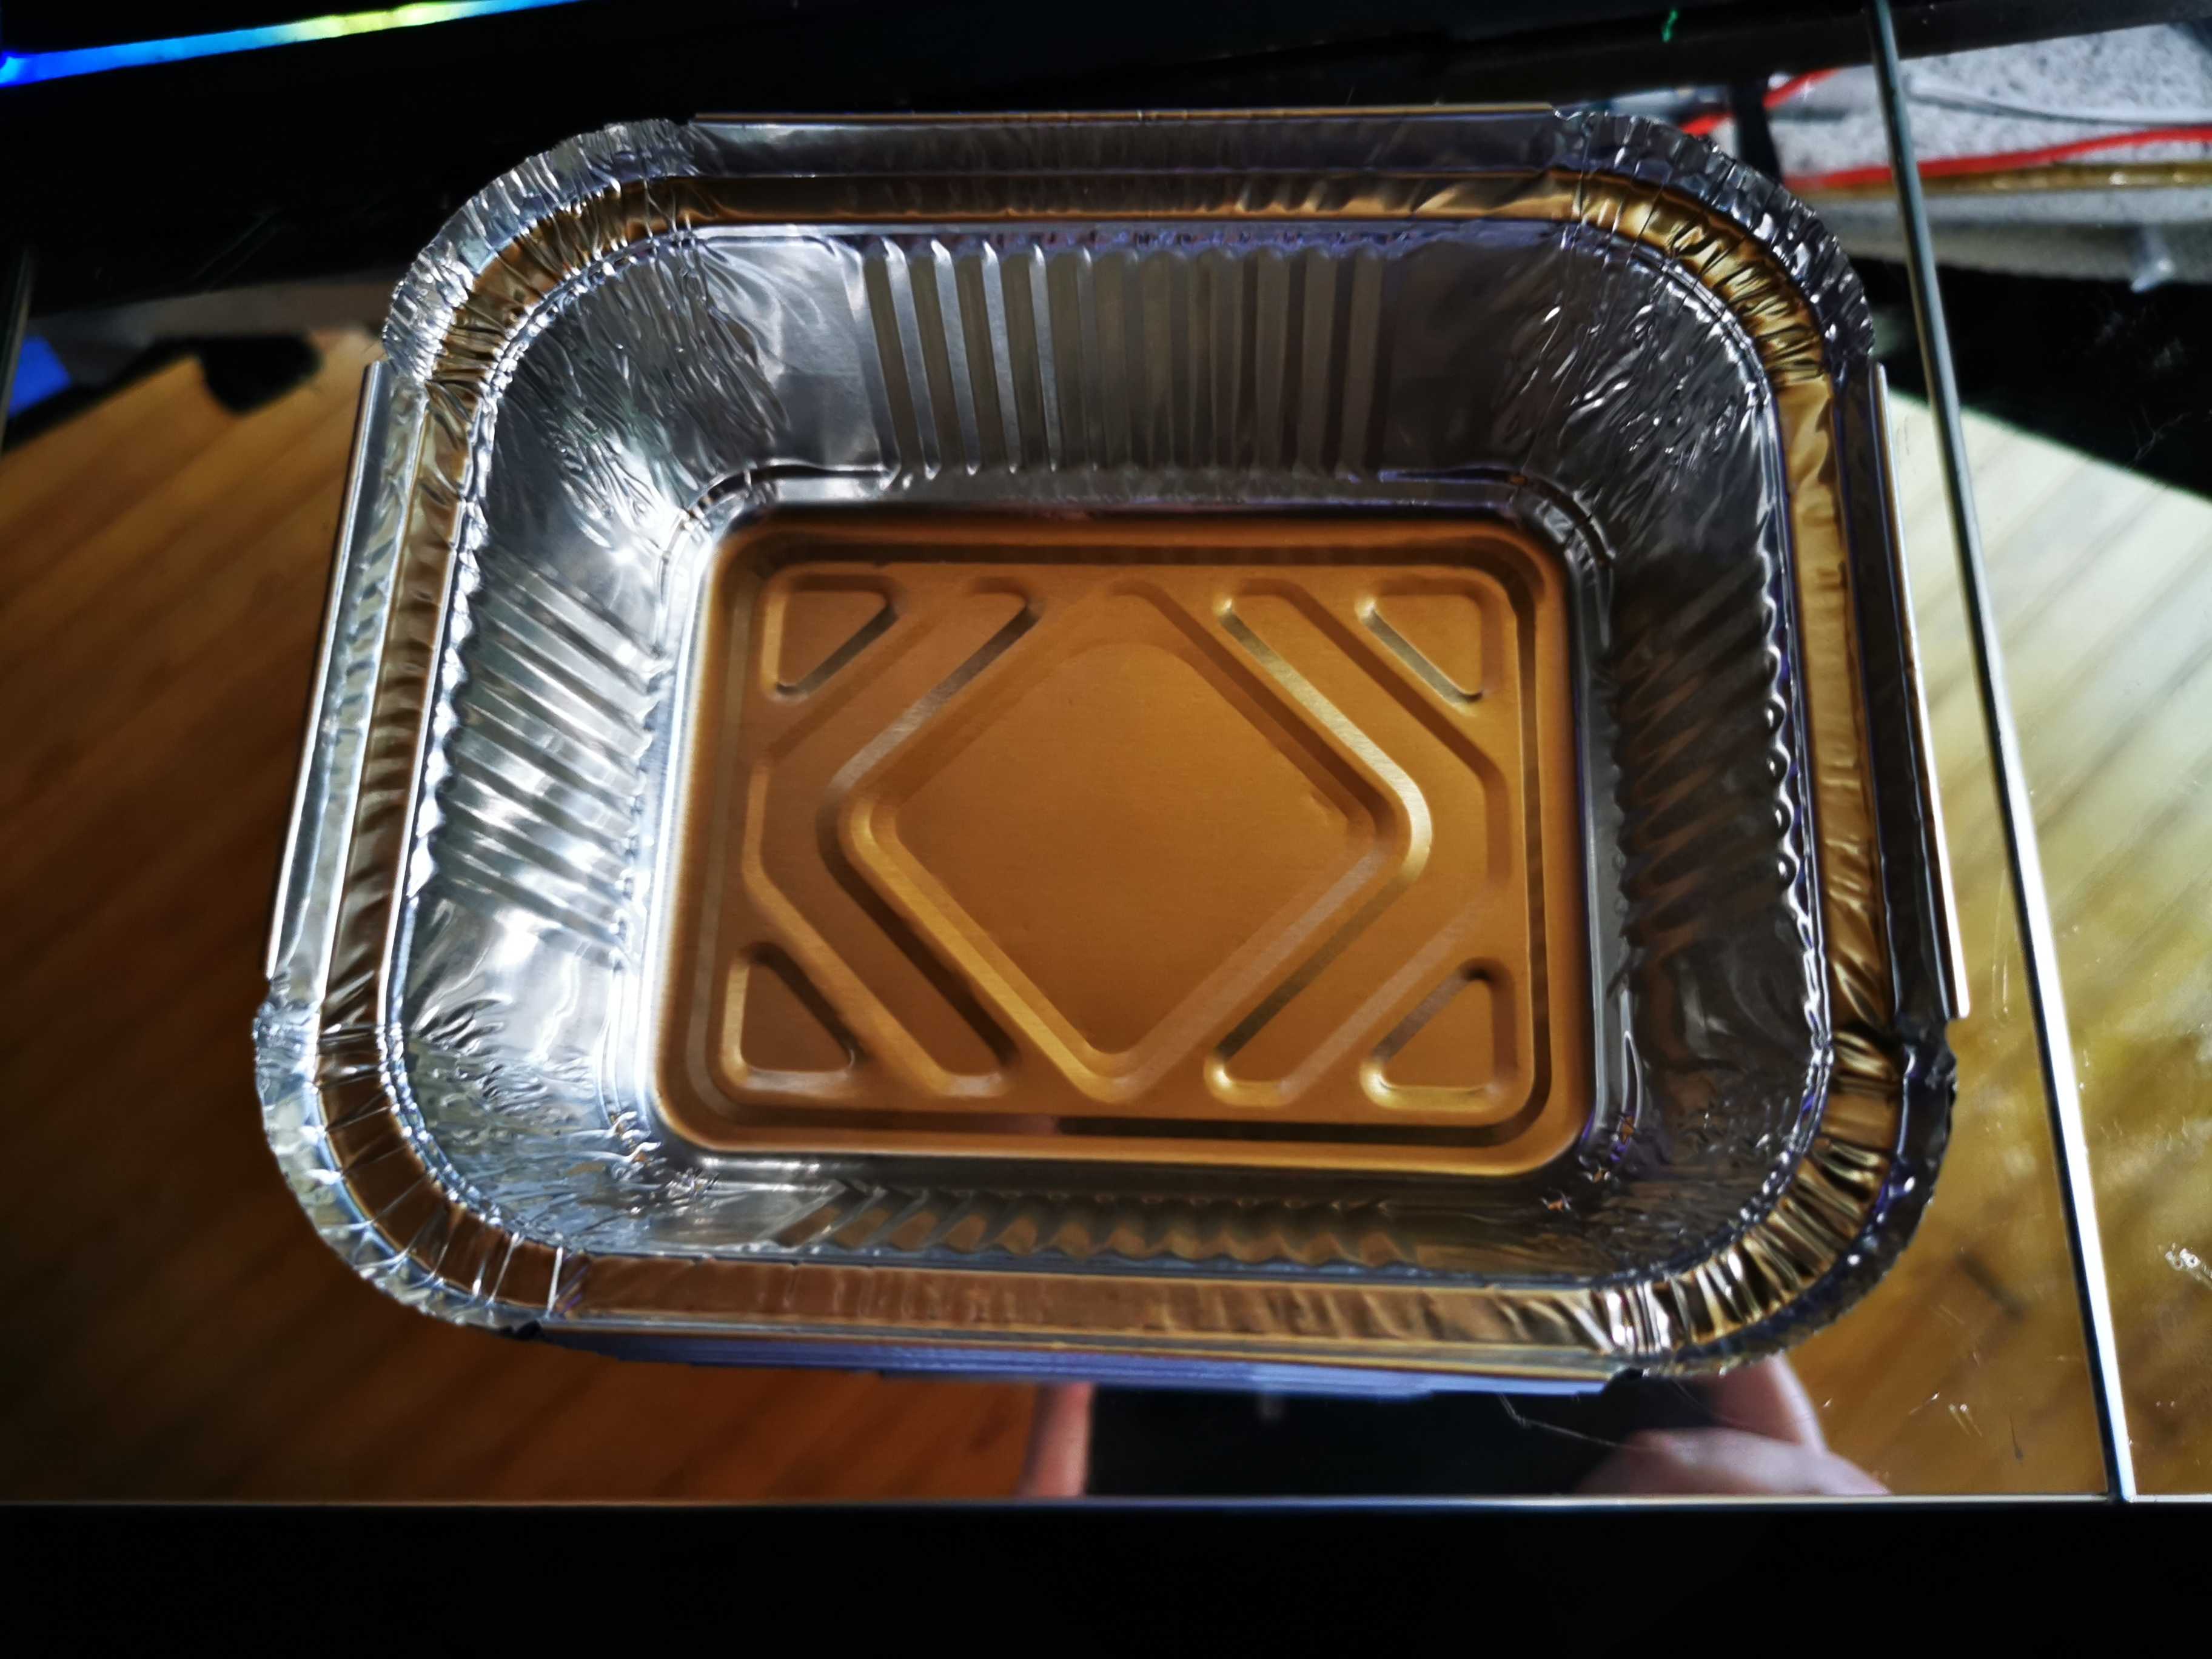
and limited the Thickness of the plate by a bit of math,..
after some other round of experiments
I decided on smaler "Tieles of 50 grams each,..
So next step was to get that thick plate ,.. into smaler pices..
And Well, just do NOT do 2+ CM Plates,.. That stuff is Hard!
I tried sawing, soldering, Drilling ( tile bits work partly)... in the end i broke it apart with a kitchen flambe Burner i keep around fro the BURN Baby... Erm the Phyrolytic cleaning of the Steel nozzle i use

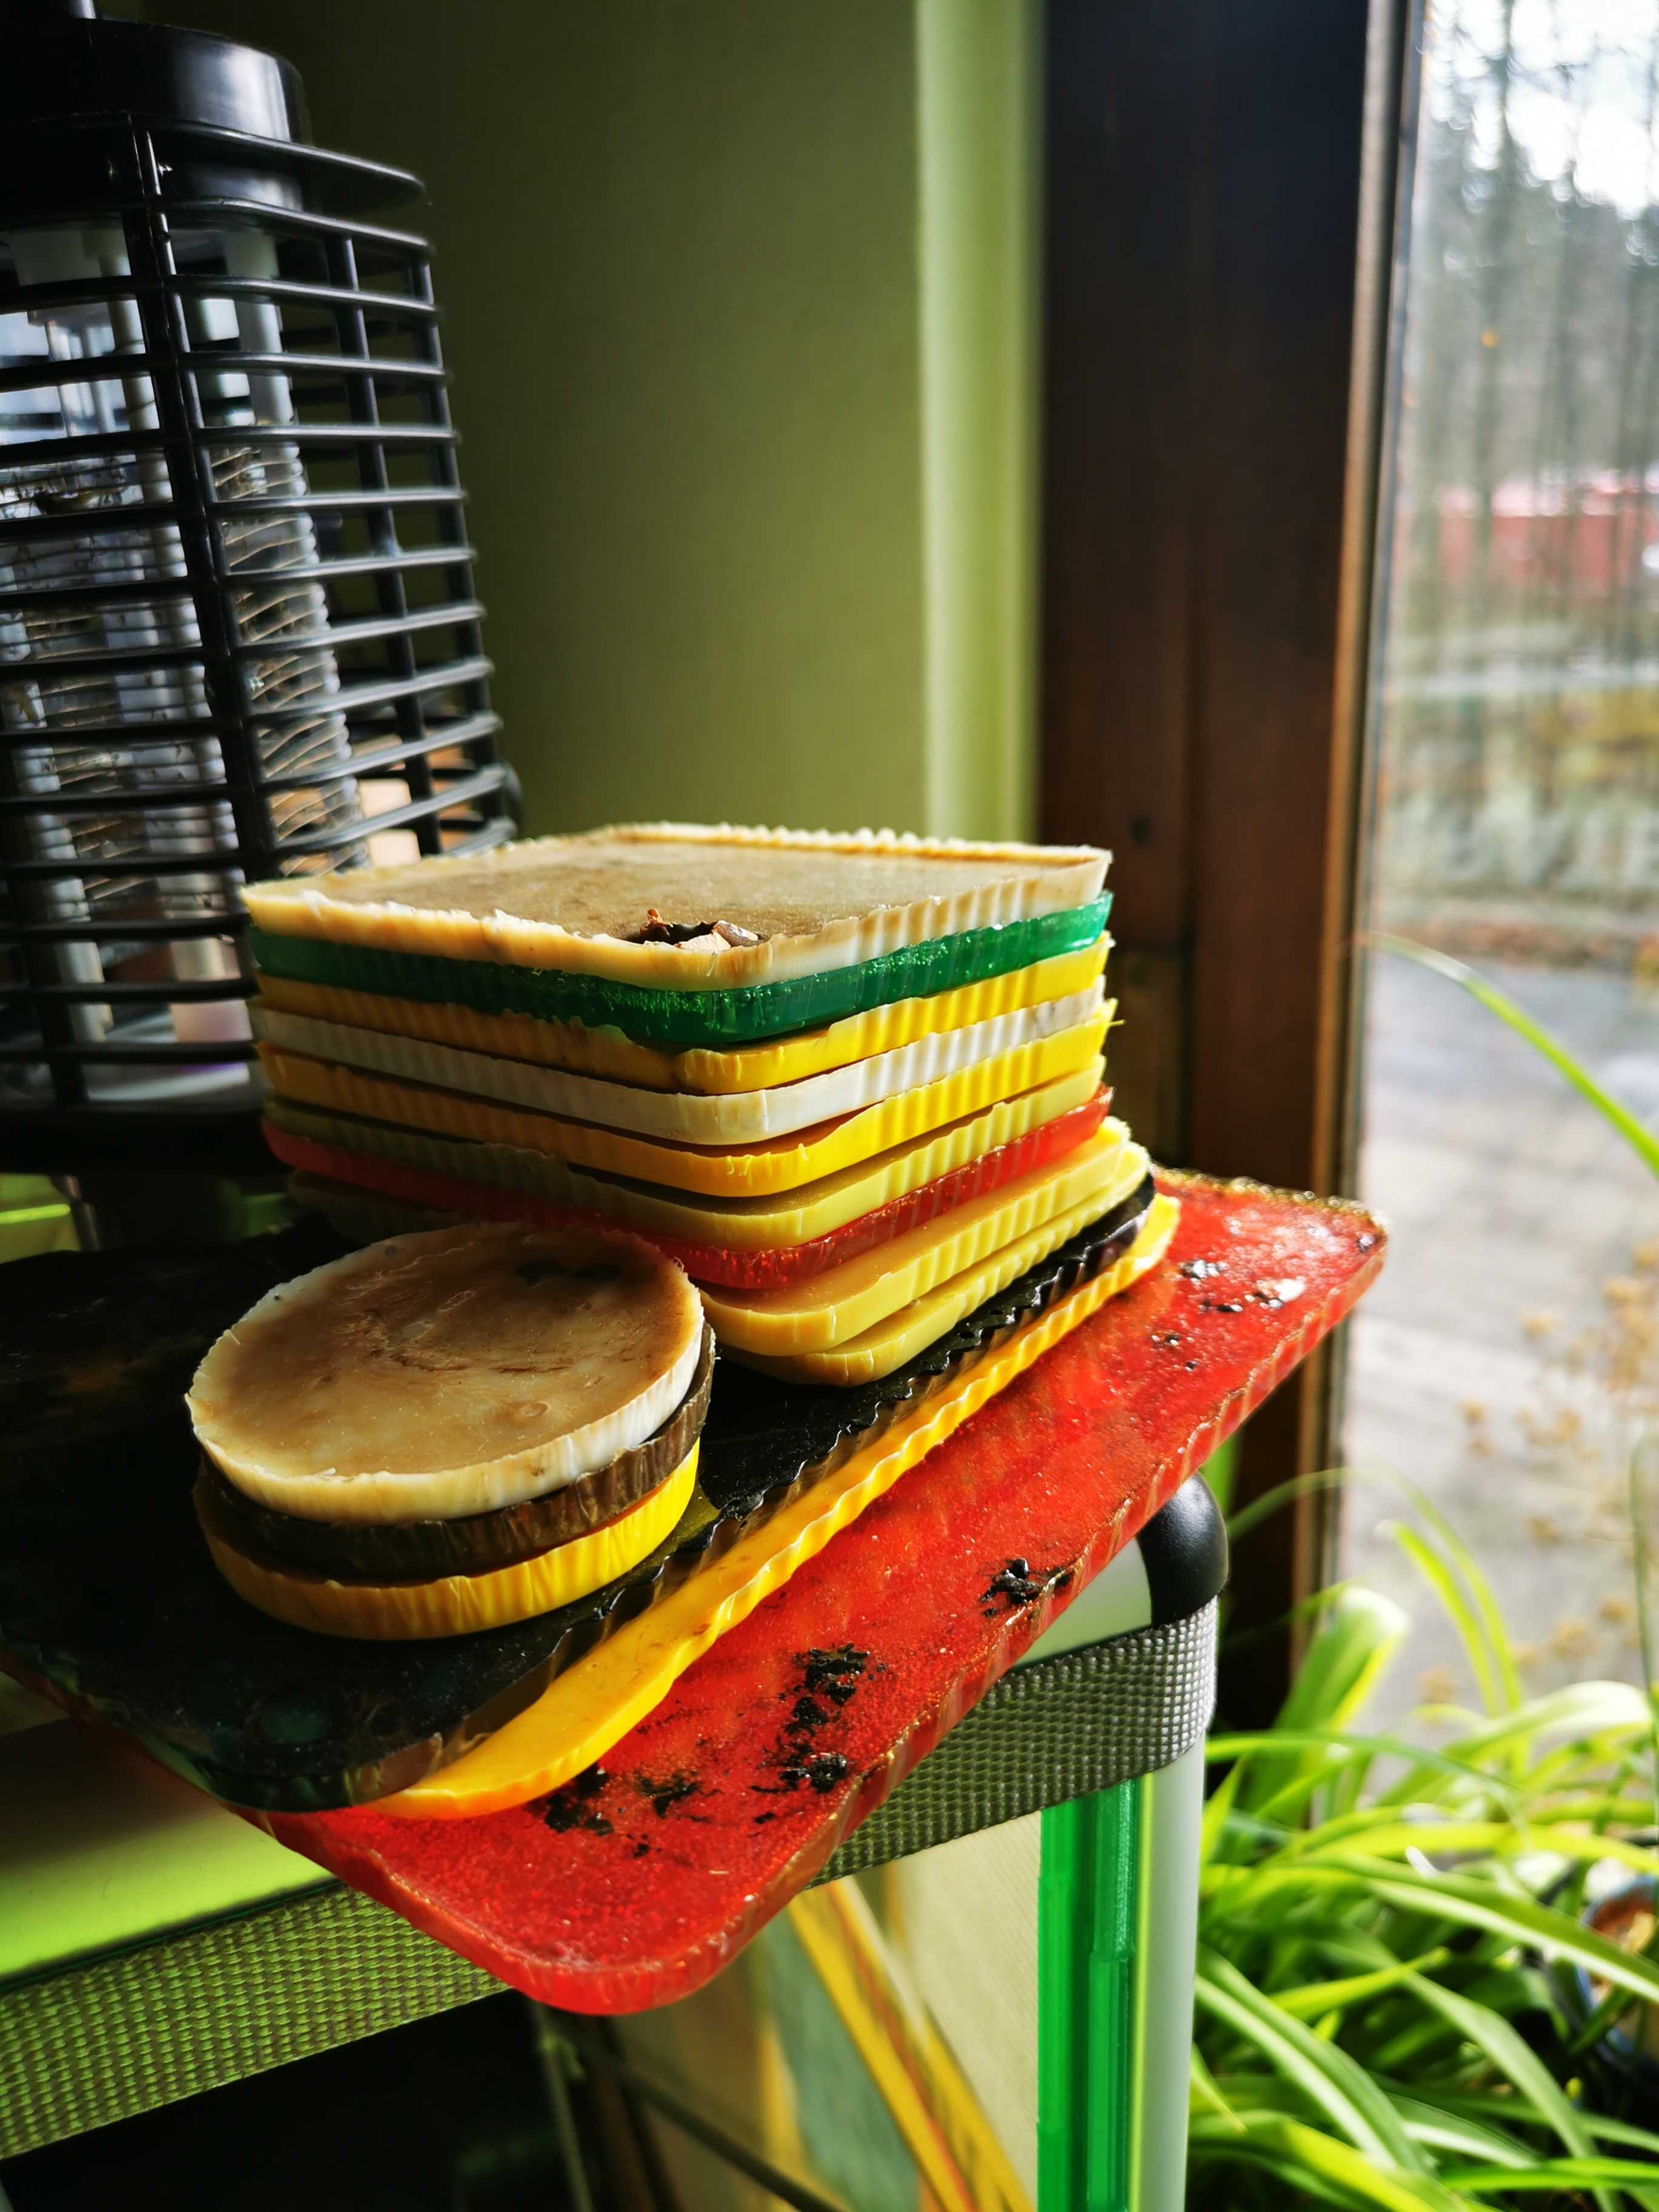
Now i have some plates of a more or less uniform size:

PRO tip 1 DO NOT OVER HEAT!...
PRO tip 2 it does not take verry ling pro charge.... Do it when the main user of that heating cotraption is not near!
after a series of tests with different glues

i found the best glue for PLA is PLA...
Via Selve printed HEat gun ammo i found here https://github.com/DPHAD/PLA-Glue-Stick, and a glue gun..


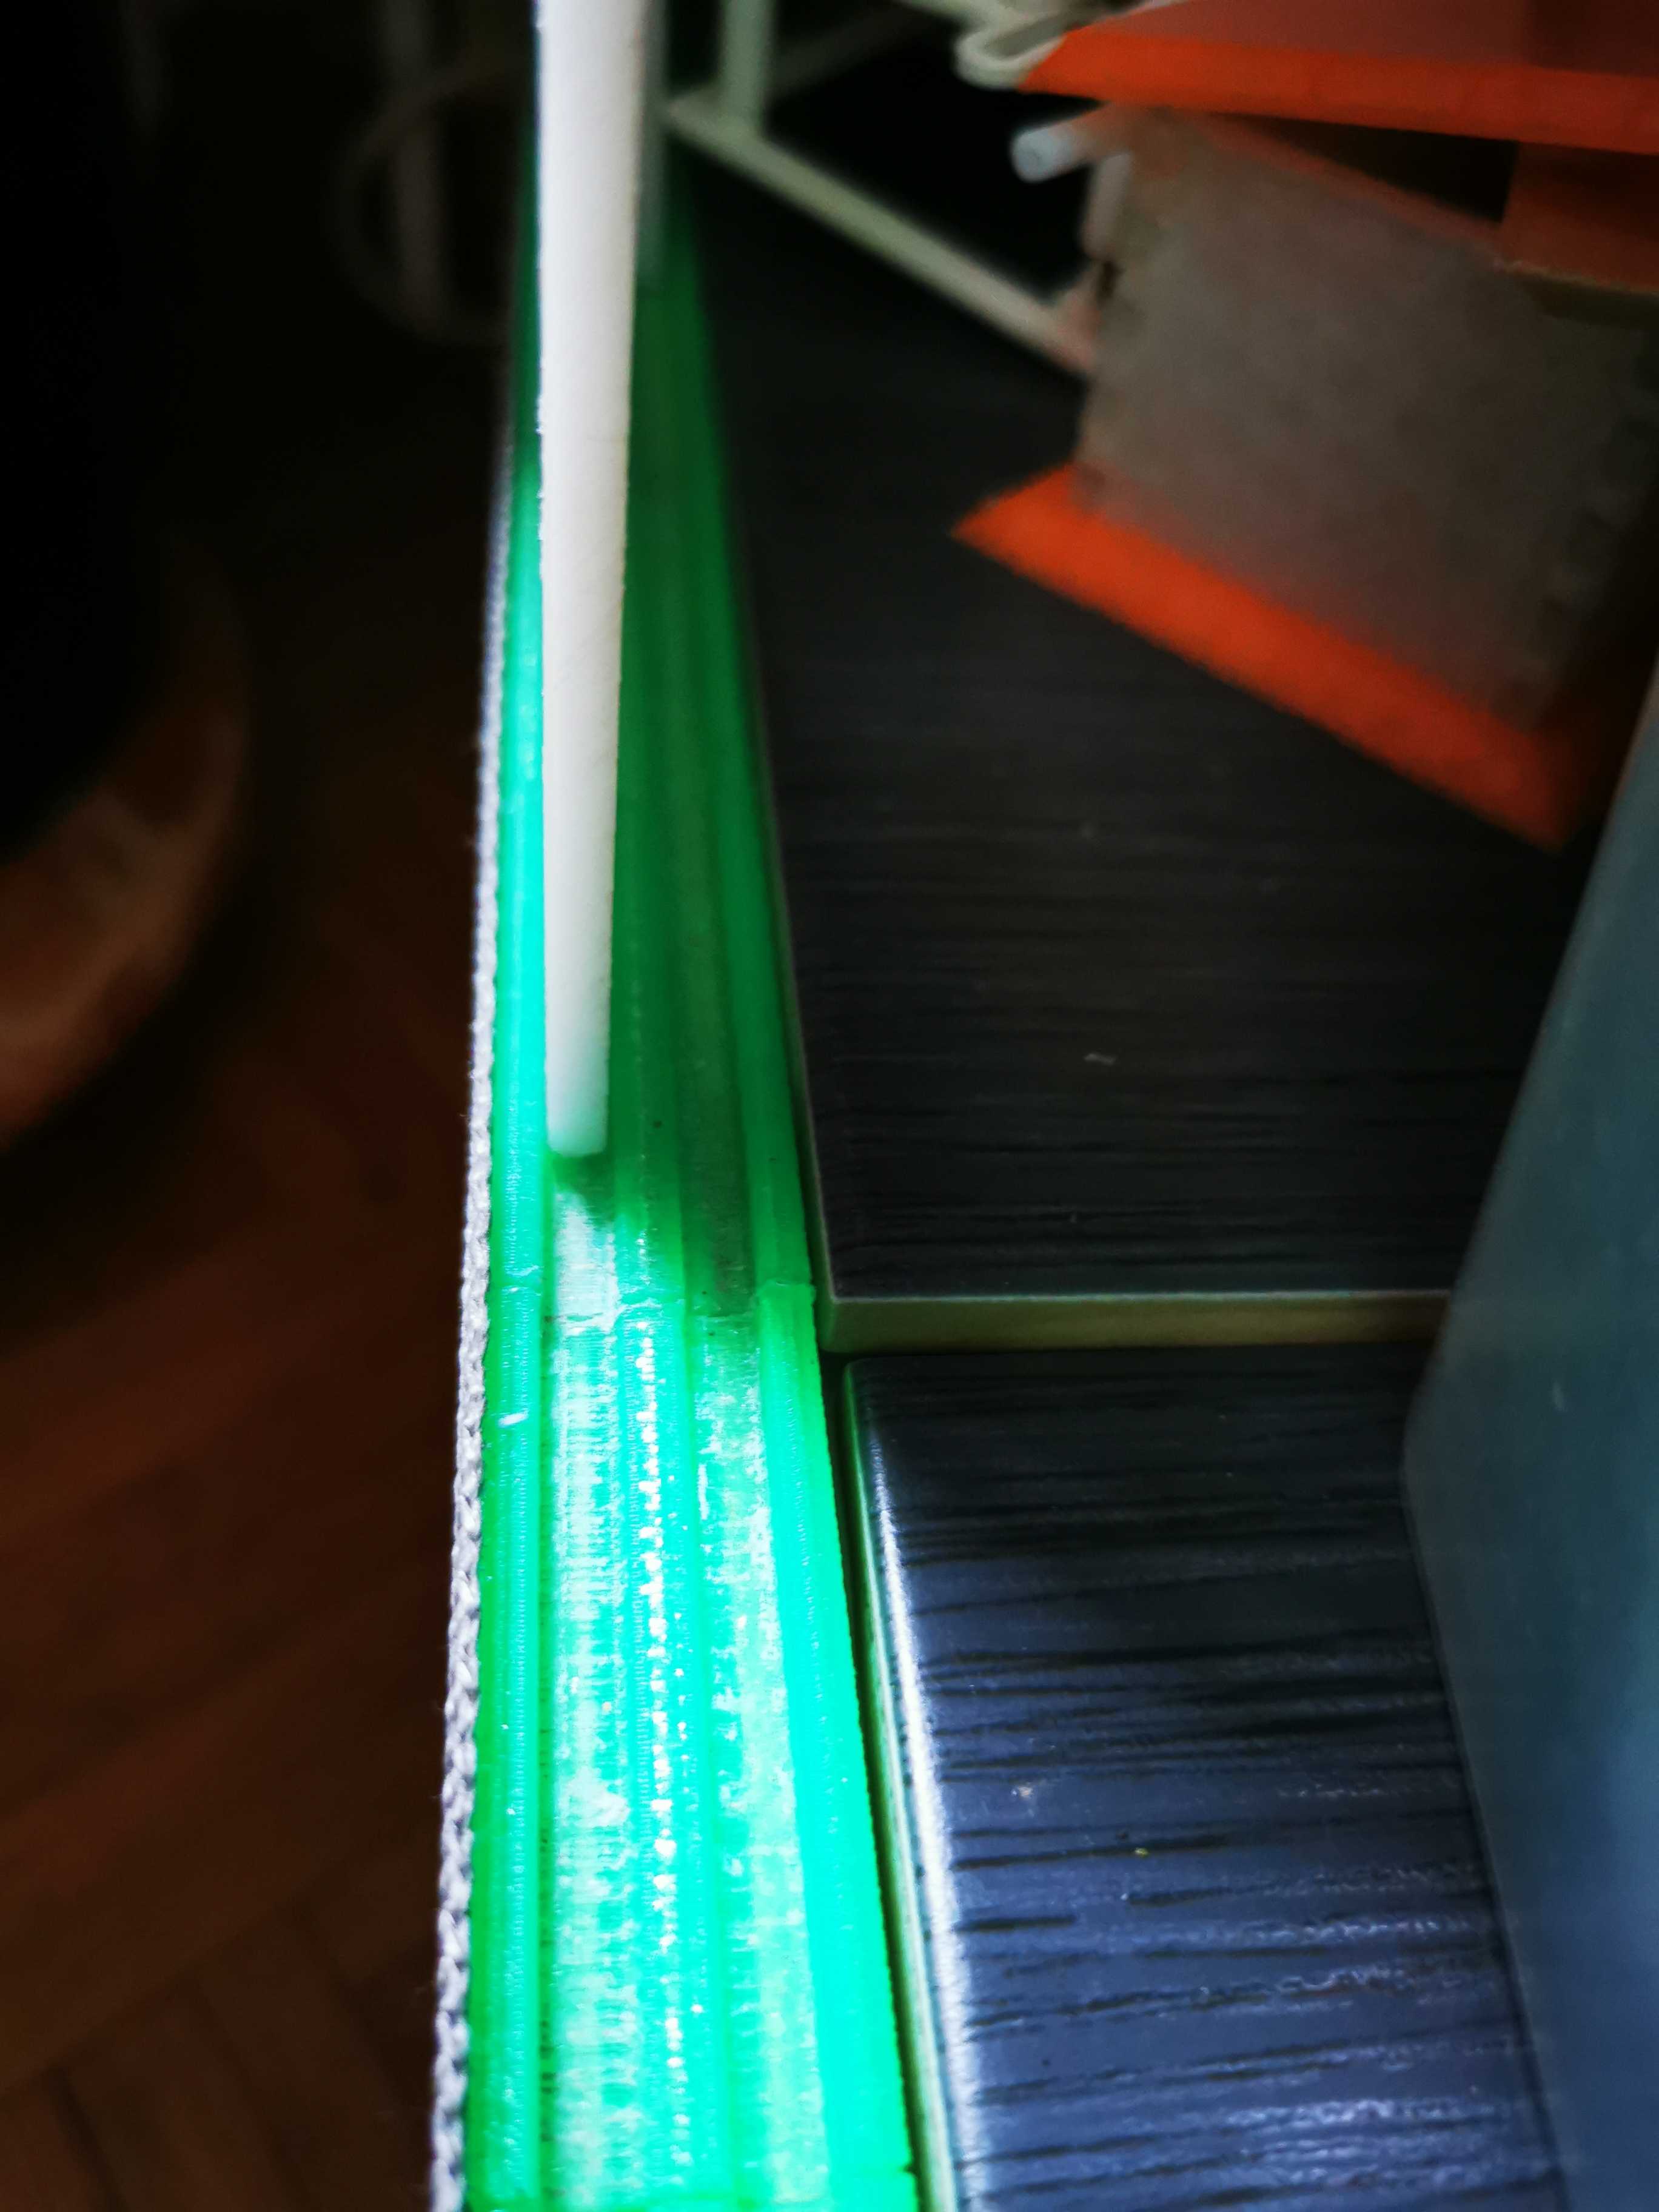
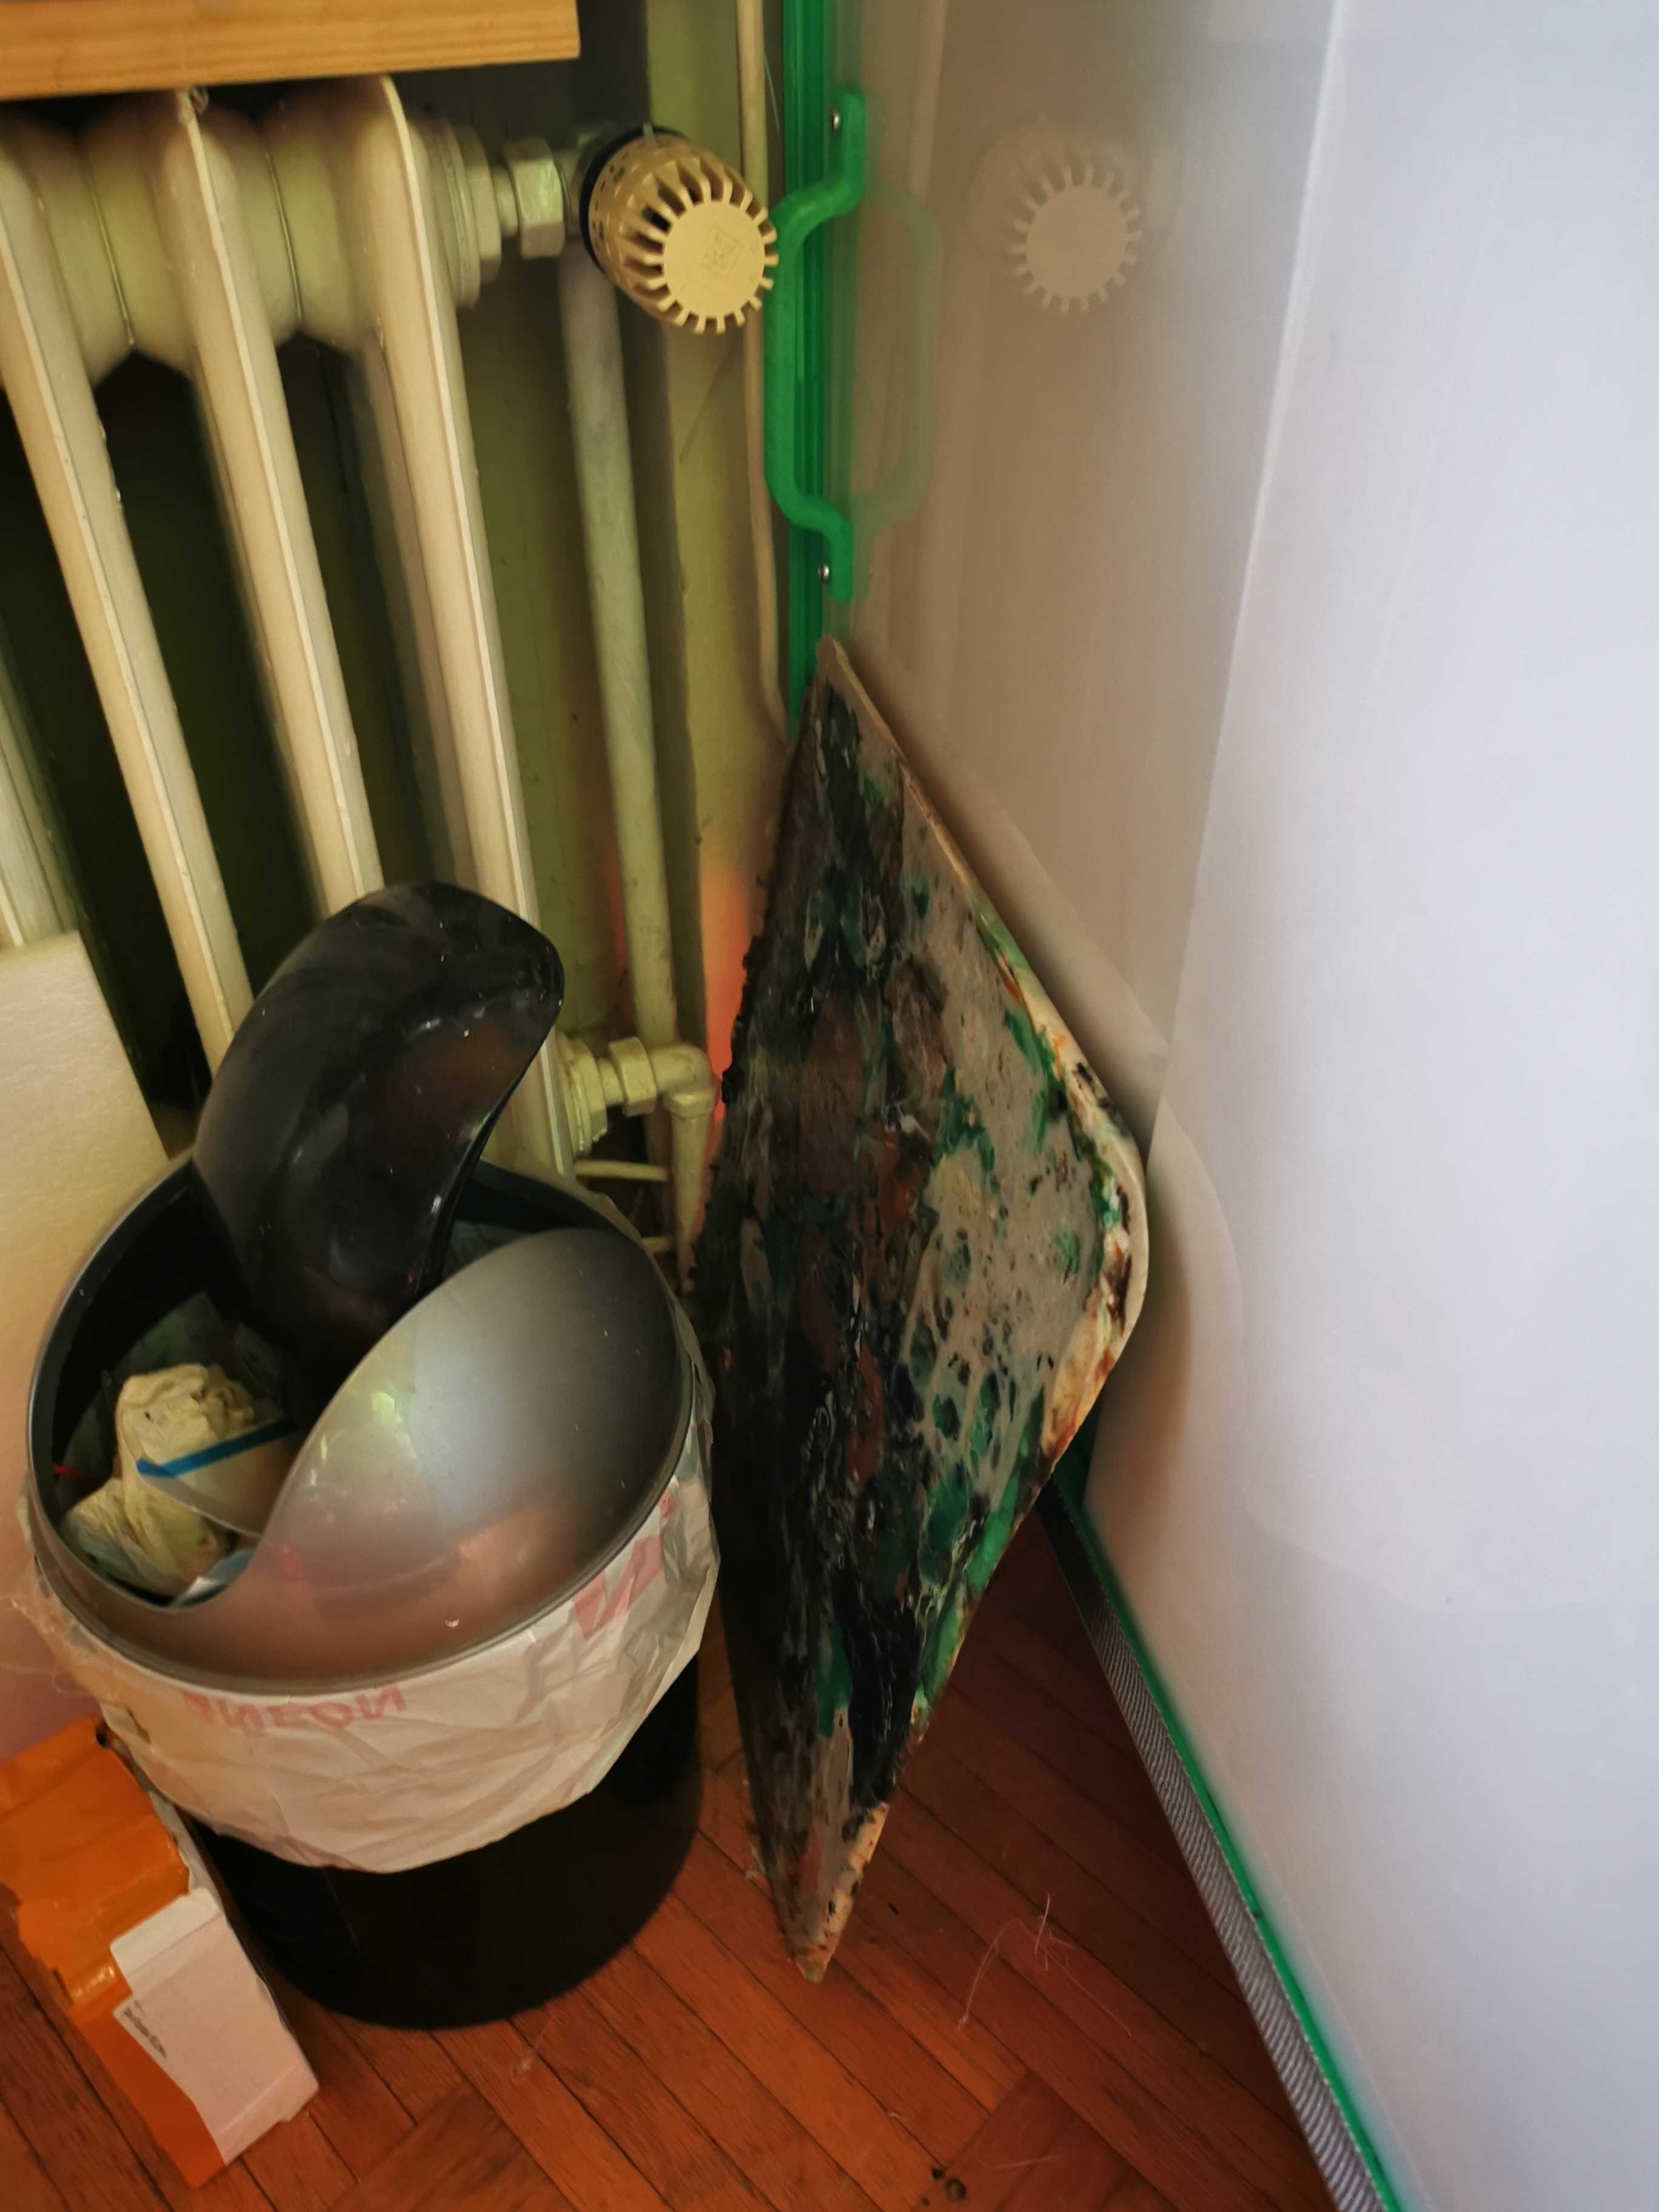
and Print Conectors and rails; so i can glue together a "Backwall" from old PLA junk. ...
...
~ a quarter So far ,...
Sadly you see some of the Glue connections , leftovers ( not yet cleaned up)
the outer corner Profile is build it fits in the double rail i already have installed
,
and as you guys here might recall Thais not one of the more Tiny printers
so I set out and Put together a Cupboard mainly from 20x20 alu extrusion profile rods
little did I know that there are like 6 DIFFERENT types 20x20 extrusion rods,.. and Well THAT was fun
After Somewaht FUN i had
So There i cubbelt together the 80X80X150 Cm Thingy, i used meshed steel rods in the inner cuts of the alu rods as level Ground and used after some experiments Tiles To give the thing some mass..
also i had some NIce storage room
I printed gliding Click in parts to get some Gliding rails for the doors, and sometimes plates to get The heat to stay in, when used abs...
Sooo Next was that while printing , there Is a sizable amount of Los, ,
and i stored that leftovers, missed prints and such in a box; then i stard to think about what to do with it,..
as reUsing that as New filament seems a Bit expensive i welllll.... started to experiment - and Found after a while That there is That thing in the kitchen that gets the temperature i needed
so first i Basically Killed an old baking Plate; with about 2 years of 3d printing Crap
soon i found that a; Thats abit THINK, also; hard to remove From the plate ( first one was COMPLETELY TOTALED but was about to be trown away anyhow)
So i switched to aluminium one way food containers
and limited the Thickness of the plate by a bit of math,..
after some other round of experiments
I decided on smaler "Tieles of 50 grams each,..
So next step was to get that thick plate ,.. into smaler pices..
And Well, just do NOT do 2+ CM Plates,.. That stuff is Hard!
I tried sawing, soldering, Drilling ( tile bits work partly)... in the end i broke it apart with a kitchen flambe Burner i keep around fro the BURN Baby... Erm the Phyrolytic cleaning of the Steel nozzle i use
Now i have some plates of a more or less uniform size:
PRO tip 1 DO NOT OVER HEAT!...
PRO tip 2 it does not take verry ling pro charge.... Do it when the main user of that heating cotraption is not near!
after a series of tests with different glues
i found the best glue for PLA is PLA...
Via Selve printed HEat gun ammo i found here https://github.com/DPHAD/PLA-Glue-Stick, and a glue gun..
and Print Conectors and rails; so i can glue together a "Backwall" from old PLA junk.
... ~ a quarter So far ,...
Sadly you see some of the Glue connections , leftovers ( not yet cleaned up)
the outer corner Profile is build it fits in the double rail i already have installed
,
Thanked by 1Samuel Pinches
Howdy, Stranger!
RegisterIt looks like you've been lurking for a while.
If you register, we will remember what you have read and notify you about new comments. You will also be able to participate in discussions.
So if you'd like to get involved, register for an account, it'll only take you a minute!